Although astrophotography is a very professional disciplinary, it is also possible to create great pictures with simple equipment and proper techniques. It is mostly a matter to know your subject and what is suitable to our equipment. I already suggested a few simple astrophotography methods and it is time for more examples.
The timing was around the new moon even tough I didn't get too far from the urban area and the light pollution was high anyway. All the photos are without any post-processing (with the exception of crop). The main idea is to show what is possible before using nay software such as Photoshop or Lightroom in which the possibilities are endless. Personally I don't like post-processing. It can do wonders, it can do whatever you want if you know how, but sometime if a picture is too perfect it seems a bit fake. If I use software at all it is mostly to simple bright/contrast and level adjustments.
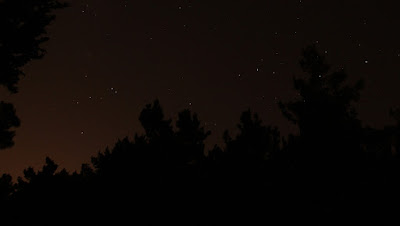
The first set is from Thursday 16/July/2015. The first shooting place was where a new bridge for the train gives some nice compositions. It was not planned but the big dipper just posed for a very nice image which may be a tribute to Red Hot Chili Peppers "Under the Bridge"
 |
| The big dipper |
This is not related to astronomy but just gives a hint on the surrounding.
 |
| The bridges |
The next location was somewhat further away and inside a forest to eliminate some of the light pollution but the sky were still very polluted. In these photos I've used an Ioptron tracker to eliminate star trails. The tracker is quite new for me and I still need to practice using it. I can't day that using a tracker is simple. most people will ot spend 300$ on such item which has a very limit purpose, but still it is an affordable and easy to setup. You can do without it for short exposures or for wide focal length. Most people use the 500 rule. divide 500 in your actual focal length (If your camera is a DSLR with cropping factor, don;t forget to calculate it as well), and this will give you the maximum exposure in seconds. usually you will need to use high ISO rate. So even for short exposure a tracker is suitable to use lower ISO value and maybe a closer aperture.
This is a close up of the open clusters M6 and M7. These photos requires a zoom lens so a tracker is almost a must (unless using really high > 3200 ISO). When taking such shots take first with a high ISO and without noise reduction just to be sure on your composition. Then use lower ISO and able noise reduction to get the best shot possible.
 |
| open clusters M6 and M7 |
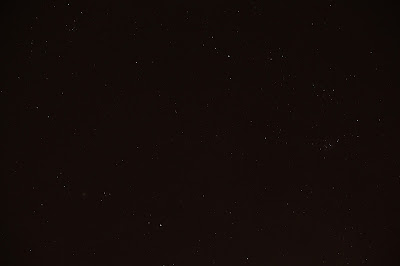
This is part of Sagittarius with M22 and M8 visible in a wide-field photo. The area is rich with globular clusters but to get them a long focal length is required. I noted to myself to take several frames and stitch them together next time, using the longest zoom I have.
 |
| part of Sagittarius |
And this is the entire Scorpion constellation.
 |
| Scorpio |
The next two photos are from July-18th. They were taken quickly from my roof just before the moon entered the clouds. It is a nice triangle of the moon Venus and Jupiter, and in the second photo Regulus of Leo is visible as well. These are quite simple photos with nothing but tripod. I didn't have the time to find nice compositions with terrestrial objects.
 |
| The moon Venus and Jupiter and Regulus |
 |
| The moon Venus and Jupiter |
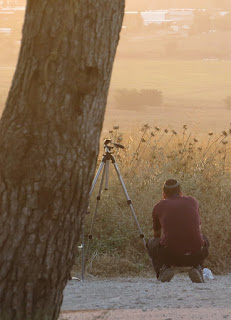
The last set is from Sunday July-19th from Tel-Hadid. In the first photo you can see me shooting the second sunset photo.
A photo of me taking the sunset photo below
 |
| Sunset with Thorns |
And two sunsets
 |
| Sunset |
 |
| Sunset |
The main object of the evening was to shoot a time-lapse of the new moon Venus and Jupiter. Here it is, 2700 photos taken over 90 minutes from 20:15 to 21:45 in just 45 seconds (120x faster). Enjoy!
